Monday, April 11, 2011

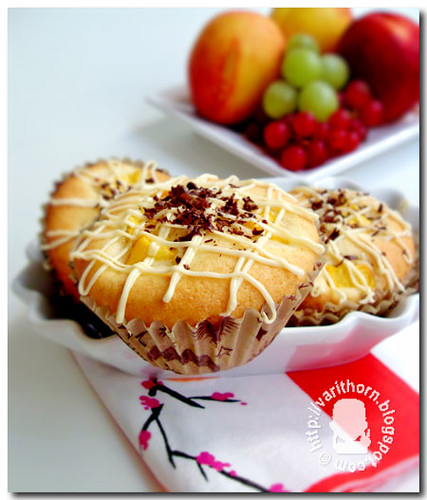
Nectarine Cupcake : คัพเค้กเนคทารีน


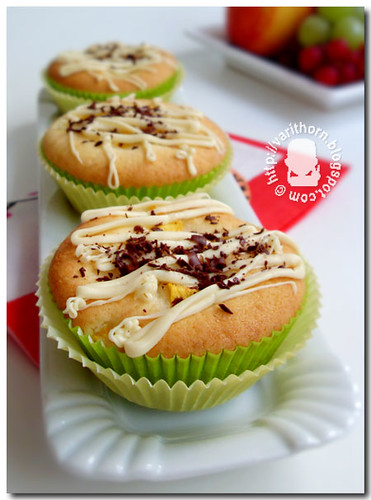
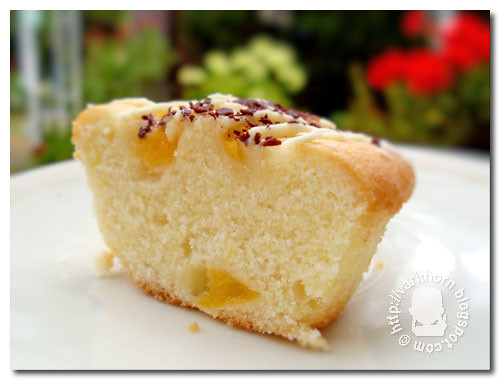
Today, my parents in law invited me for lunch. So I baked this dilicious moist cupcake for coffee after a meal. The parents loves these cupcakes because they were fresh, not too sweet, moist and tender. I'm really delighted with the result :-)

Ingredients
  • 180g fresh nectarines (peeled, cored and coarsely chopped)
  • 170g cake flour
  • 1 1/4 tsp. baking powder
  • 1/4 tsp. salt
  • 110g butter
  • 115g granulated sugar
  • 2 eggs
  • 1/2 tsp. vanilla extract
  • zest of one lemon
  • 60g yogurt
Methods
  • Mix together cake flour and baking powder, 2 times sifting and set aside. Preheat the oven to 190°C.
  • Mix sugar and salt together. Then whisk the butter by using an electic hand whisk untill smooth. Gradually add in sugar mixing and further whisk until the butter is creamy and fluffy. Add egg one at a time and beating just until blended after each addition. Then whisk in vanilla and lemon zest.
  • Stir in the flour mixture in 3 stages, alternating with yogurt. Mix them just until incorporated, do not overmix. Stir in 2/3 of nectarine.
  • Spoon the batter into the prepared muffin pan for about 3/4 full and stew with the rest of nectarine. Place the muffin pan in the middle of an oven and bake for about 20-22 minutes or until an inserted wooden pick comes out clean.
Remove the muffin pan from the oven and place on a wire rack to cool. Then decorate with white & dark chocolate if desire.

Monday, June 7, 2010

Potato Buns with Chicken Curry Filling : ขนมปังมันฝรั่งไส้ไก่

When I was in Thailand, I used to eat potato bread from the bakery "Yamazaki" for breakfast almost every morning. Since there's any Yamazaki Chains in Germany, so I need to bake it myself. At the beginning, I used the recipe of potato bread from my dear friend Nong . It tasted fantastic, really tender and soft the same as what I used to eat from Yamazaki.

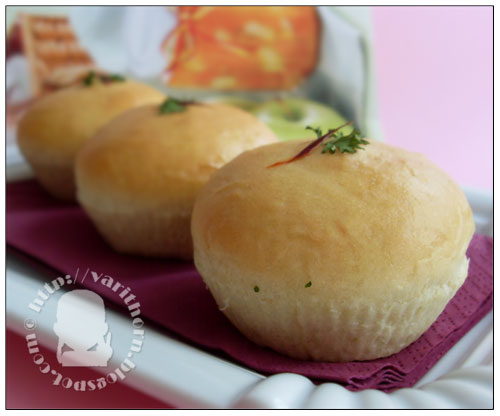
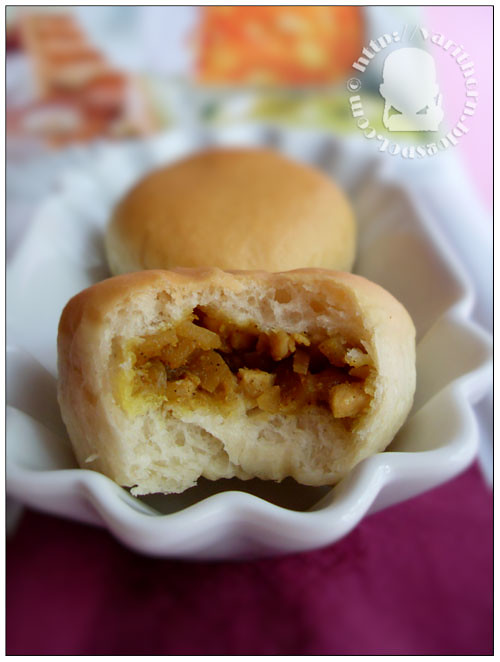
Well, after I used this recipe for a couple times, I thought I need a bit new challenge. So, I tried to creat my own potato bun recipe by adapted from my sandwich bread recipe. And I have to say that I am really satisfied with the result. The texture of the bread is so soft both inside and outside , get really well with the chicken curry filling. If you love curry, you really need to try it.

Ingredients for the filling
  • 1/2 onion, peel and chop
  • 150g chicken breast, cut in a small cube
  • 150g potato, peel and cut in a small cube
  • 1 tbsp butter
  • 20g sugar
  • 1 tbsp soja sauce
  • 1 tsp curry powder
  • 1/2 tsp pepper powder
  • 1/4 tsp salt
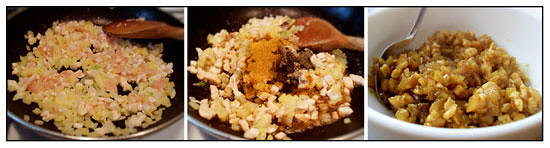
Melt the butter in the pan, then add choped onion, chicken and potato in to the pan. Stir all together until the potato is cooked. Finally, add in all the rest of ingredients, stir well and taste. Turn off the heat and let it cool.


For the dough
  • 250g bread flour
  • 10g yeast cube (3g active dry yeast)
  • 50g milk, warm
  • 130g mashed potato
  • 40g sugar
  • 40g melted butter
  • 1/4 tsp salt
  • 1/2 tsp vanilla
Methodes

In the large bowl, dissolve the yeast in the lukewarm milk, add in the flour. Mixed together mashed potato, melted butter, sugar, salt and vanilla, then add into the bowl, stir until well combined and knead by using dough hook with high speed about 5-6 minutes or until the dough is smooth and elastic. 


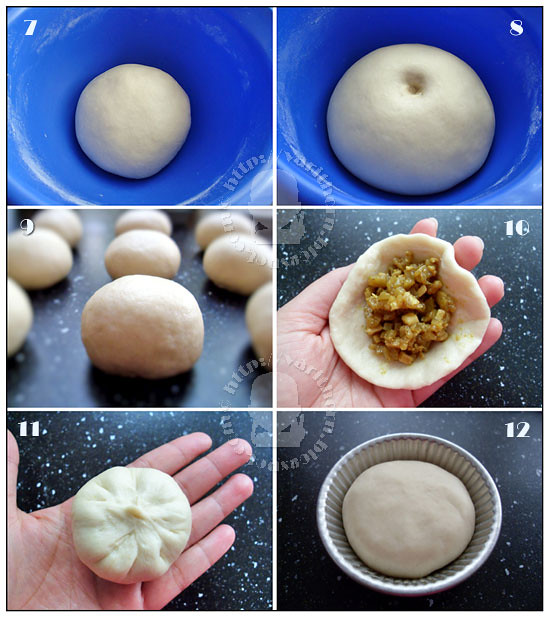
 Shape into the ball and cover with the towel, let rise about 45-60 minutes or until double. Then, knead the dough about 2-3 minutes to get rid of the gas before divide in 12 portions, round them into the ball and rest about 10 minutes.

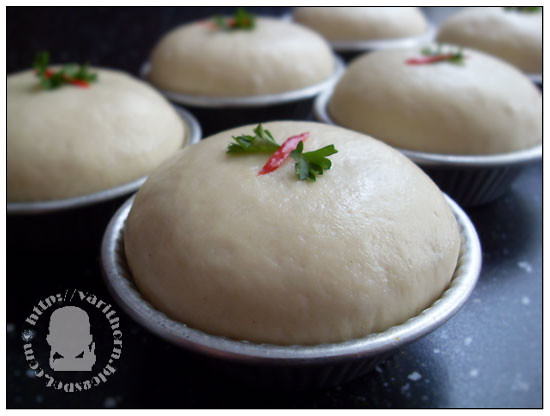
Roll out the dough, put the filling in the middle and fold the edge of the dough cover the filling. Put into a greased tin and let it proof for 20 Minutes, thereby don't forget to cover with the towel.  


 After 20 minutes rising, warm the oven to 180C. Light brush the surface with milk and decorate with parsley and chili.

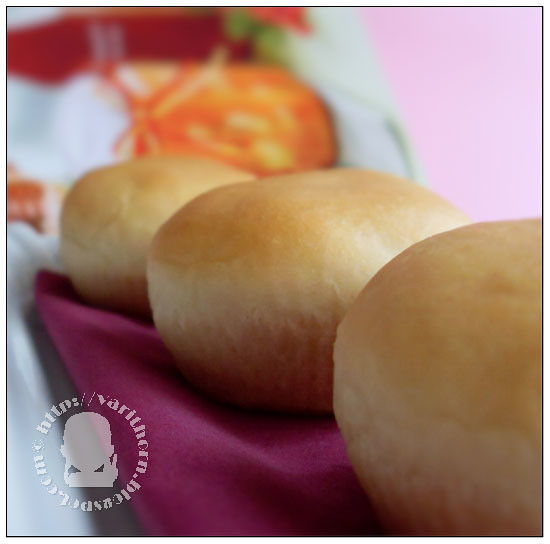
Bake at 180C about 15-18 minutes until goldbrown. Take out of the oven and immediately brush the surface with butter. Remove from the tin and cool on the wire rack.

I find they tastes best when they're a bit warm and fresh. If you've something rest in the next day, you can just warm in the microwave by low heat just for 15 seconds and they're become tender and so soft just like fresh from the oven. 

Well, enjoy baking and hope you like this potato buns the same as me.

Thursday, May 27, 2010

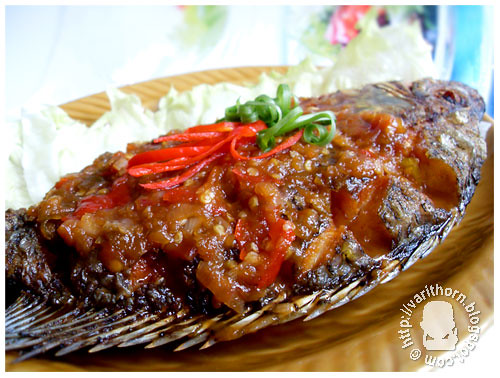
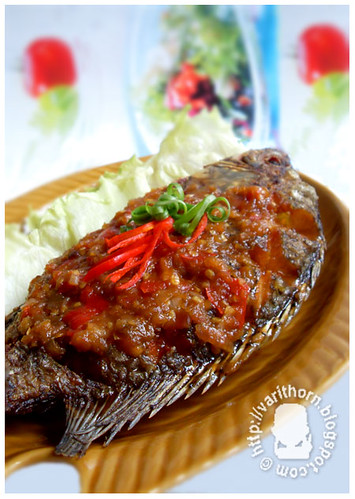
Deep fried fish with Chili Sauce : ปลาราดพริก

 
I guess, I was a cat in my previous life. Why? Because I do looooove to eat fish, namely all kind of fish dishes. And this deep fried fish with Chili Sauce (Pla rad Prik) is one of my favorite. Every year when I went back to visit my family in Thailand, my sister and my mother would always cook Pla Rad Prik for me almost every three days. Too bad that I have to cook it myself when I'm in Germany :-( 

Ingredients :
  • 1 whole fresh tilapia (weight about 600g) 
  • 1 pinch salt 
  • 1/2 cup oil for deep frying 
  • 1 clove garlic 
  • 3 shallots 
  • 7-8 Thai chilis (prik chi fa) 
  • 1/4 cup tamarind marinade 
  • 2 tbsp. fish or meat stock 
  • 1 tbsp. palm sugar 
  • 1/4 cup fish sauce 
Instructions : 
Clean fish, wipe it up with the paper towel, cut both sides like a crisscross and sprinkle with salt. Heat oil in a wog or pan on high heat, as soon as the oil is hot, put the prepared fish to fry and immediately reduce the heat to meduim. Keep deep frying until both sides are crispied. Take it out from the pan, drain in a paper towel and lay on the serving plate.

Peel garlic and shallots. Wash chilis and remove stem from chilis. Then pound garlic, shallots and chilis together. Take 1 tbsp. of fried fish oil and heat in a pan on medium heat. Stir fry the pounded mixture in oil until fragrant. Add in tamarind marinade, fish stock, palm sugar and fish sauce. Stir well until the sauce is cooked. Taste, the sauce should has 4 full-flavoured tastes : spicy, sour, sweet and salty. (If you prefer sour, add more tamarind marinade, if you'd like to get more sweet then add more palm sugar or if you think it isn't salty enough, just add more fish sauce.) Reduce the heat to low, let it gently boil and further cook whereas occasionally stirring until the sauce is getting thick.

Pour the sauce on top of the fried fish and decorate with chili and spring onion. Have a nice meal!


Tuesday, December 1, 2009

Prawns cooked in glass noodles : กุ้งอบวุ้นเส้น

I do love this food. I often cook "Gung ob wun sen" (how we say in Thai) for us and the last time was yesterday. We ate all in a flash. It was really heavenly and I can eat it over and over again without getting bored with this easy food.

Ingredients : for 2 persons

80g glass noodles
1 tbsp. dark sweet soy sauce
6 prawns
50g streaky pork
2 green onions
2 coriander roots
3-4 slices of ginger
2 cloves garlic
3-4 tbsp. chicken stock
2 tbsp. soy sauce
1 1/2 tbsp. oyster sauce
1 1/2 tsp. sugar
1/2 tbsp. shao shing rice wine
1 tsp. sesame oil
1 tsp. pepper
1 tbsp. vegetable oil

Instructions :

Soak glass noodles in hot water, drain and put them in the bowl. Pour dark sweet soy sauce over the glass noodles, mix well and set aside. Mix chicken stock, soy sauce, oyster sauce, sugar, shao shing, sesame oil and pepper together, set aside.

Clean prawns and make an incision on the back. Cut streaky pork in about 2 cm. Peel garlic and cut in half or quarter. Wash green onions and cut in long strips. Wash coriander roots and smash.

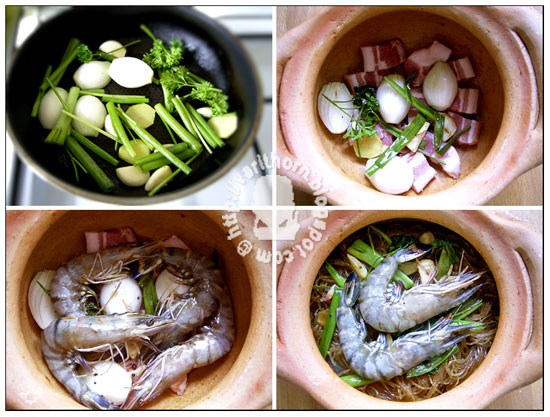
Heat vegetable oil in a pan on medium heat. When oil is hot, put sliced ginger, garlic, green onions and coriander roots in a pan. Stir fry until fragrant, turn off the heat.

Line streaky pork in the bottom of the pot and put half of fried vegetable on the streaky pork. Then line half of prawns on vegetables. Pour half of mixing sauce over the prawns and cover them with half of glass noodles. Then line the rest of prawns over the noodles, put the rest vegetable on the prawns and cover with the rest noodles. Finally, pour all mixing sauce over the glass noodles.

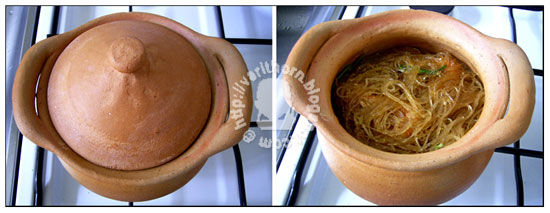
Cover the pot and place it on the stove. Cook on low heat about 20 minutes or until prawns's shells turn red. Turn off the heat.

Take the pot out of the stove and serve warm. Wish you all enjoy your meal.

Friday, November 20, 2009

Mocca Chiffon Cake Roll : มอคค่าชิฟฟอนโรล

I don't drink coffee, but I do love its taste and aroma. When I was in Thailand, I didn't know how to bake it myself, so I bought a coffee roll from the bakery at least one time a week. It's always one of my favorite cake :-)

Ingredients :
For the mocca chiffon cake :
  • 60g cake flour
  • 1 tsp. cacoa powder (My cocoa is used, so I just left it this time)
  • 1 tbsp. milk powder
  • 1 tsp. baking powder
  • some chopped mocha bean
  • 40g granulated sugar
  • 45g milk
  • 1 tbsp. instant coffee powder
  • mocca aroma
  • 2 large egg yolks
  • 30g canola oil
  • 2 large egg whites
  • 20g castor sugar
  • 1/2 tsp. lemon juice
  • 1 pinch salt
For the caramel cream :
  • 25g granulated sugar
  • 5g water
  • 20g whipping cream (A)
  • 100 g whipping cream (B)
Instructions :
  • Lay a baking tray (25 cm x 32cm) with baking paper. Preheat the oven to 190°C. Parboil milk and dissolve instant coffee powder and milk powder therein. Let it cool.
  • Mix together the cake flour, cocoa powder, milk powder and baking powder, two times sifting into a mixing bowl. Add in chopped mocca bean and granulated sugar, stir together and make a hole in the middle of the flour mixture.
  • Add cooled milk, mocca aroma, egg yolks, and oil into the flour hole, stir the mixture together just until the flour dissolved. (stir it quickly and shouldn't take longer than 5 seconds)
  • In another mixing bowl, beat egg whites with salt and lemon juice until foamy. Gradually add in sugar and whisk with high speed until stiff peaks form. Gently fold in whipped egg whites into eggyolk mixture.
  • Pour the batter in the prepared baking tray and spreading the batter with an offset spatula. Put it in the oven and bake for about 10 minutes. To test if the cake is ready, just press the finger lightly on the center of the cake, if it spring back, that's mean, it's should be so far.
  • Hold the baked cake out from the oven and allow it to cool off for 1-2 minutes , then turn the cake onto the plastic wrap, roll up the cake with plastic wrap laxly while it is still hot and pliable.
  • Caramelize sugar and water together, reduce the heat and stir in whipping cream (A) untill incorporated, cool off. Beat heavy cream until stiff peaks form, beat in cooled caramel just until combined. Unroll the cake and spread with the the cream caramel, reroll the cake. Cover with the plastic wrap and place in the refrigerator for 2 hours before serving.
Decorate with the rest caramel cream and mocca bean in hope to get a better looks. I'm not sure if these made the roll looks better or messier. Anyway, it tastes gut :-)